Introduction
If your iPhone’s screen is gone or not showing anything, you won’t be able to use it properly. Even if the touch still works, it’s difficult to know what you’re doing without being able to see anything. So, where should you begin if your iPhone is stuck in this situation?
First Steps
Before trying the more complex solutions, start with these simple steps:
- Force restart your iPhone. This can fix minor software problems. Keep in mind that how you do this depends on your iPhone model.
- Plug in your device. Sometimes, the screen may dim because of a low battery. Plugging it in could also restart the phone if it was off or the battery died.
- Check your screen in low light. Move to a darker area to make sure the screen is truly black and not just at its lowest brightness setting. If you see a dim screen but can’t change the brightness or if auto-brightness isn’t working, it could mean a problem with the Ambient Light Sensor.
- Connect your iPhone to a computer. The way your phone responds in iTunes can help identify the issue.
- If your iPhone is detected and asks for permission to “Access information,” your phone is on and working, just without a visible display.
- If it’s detected but only gives options to update or restore, there may be a firmware problem. You should go to the Firmware Corruption section.
- If your iPhone isn’t detected at all, it could be a more serious issue. Check the “iPhone Won’t Turn On” troubleshooting guide in addition to this one.
Causes
1: Firmware Corruption
It’s uncommon for an iPhone to stop showing an image due to software problems, but if it’s in DFU (Direct Firmware Upgrade) mode, the screen will be black, possibly with only the backlight on. This often points to a firmware issue.
Here’s what you should do:
- Connect the iPhone to a computer. If the phone is in DFU mode, iTunes or Finder will show a message saying there’s a problem with the device and will only offer the option to restore it. The “Update” button will not be available.
- Click “Restore.” This will reinstall the firmware and operating system, but it will erase all data on the iPhone. Make sure you have a backup before proceeding.
- If the restore fails, note any error messages. This might be a good time to ask for help on a forum like Answers. Be sure to include the error message when asking for assistance!

2: Ambient Light Sensor Fault
At the top of your iPhone’s display, near the front-facing camera, there are several sensors, including the Ambient Light Sensor (ALS). The ALS automatically adjusts the screen’s brightness based on the light around you. If the screen seems black, it might just be very dim.
Here’s how to check if the ALS is the issue:
Work in a dark room. If your screen is too dim to see, try moving to a darker environment. You can also shine a flashlight on the screen to see if there’s a faint image. Look at the screen from different angles to make sure glare isn’t blocking the view. If you still can’t see anything, move on to the “Screen Disconnect” section.
Test the ALS. You can check if the Ambient Light Sensor is working by turning on auto-brightness and covering the top of your phone with your hand. If the screen brightness changes, the sensor is functioning correctly.
- To turn on auto-brightness, go to Settings > Accessibility > Display and Text Size. The switch will be green if it’s enabled.
- On older versions of iOS, you might find this setting under Display and Brightness in the main Settings menu.
Check for damage. The ALS is part of a cable assembly near the front camera and speaker in iPhones with Touch ID. In iPhones with Face ID, the camera is housed differently, and on the iPhone 13, the receiver speaker is mounted in the chassis.
- If you see signs of liquid damage near the top of the phone, the ALS might be affected. Look for corrosion (patina) on the metal components, as this could indicate a damaged sensor cable.

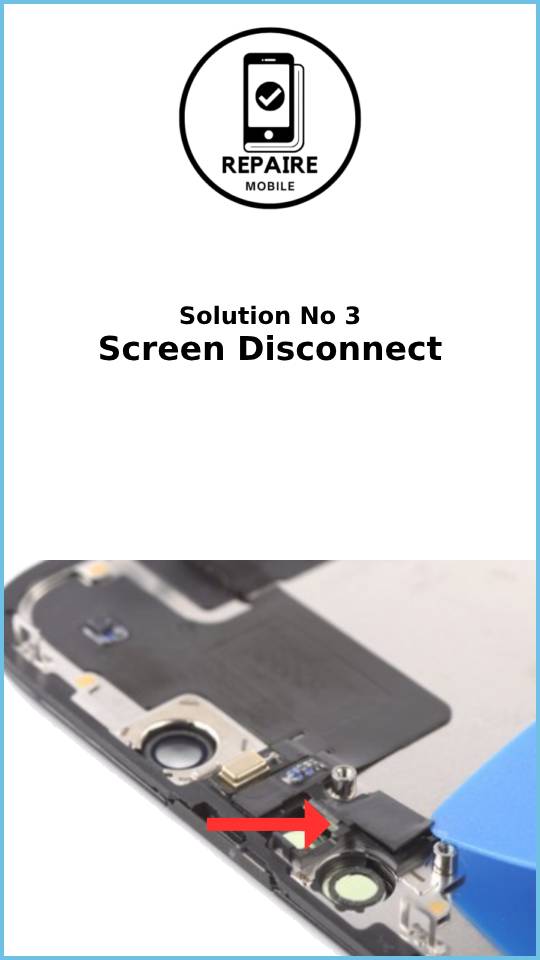
3: Screen Disconnect
After a significant drop, the connection between the iPhone’s screen and the motherboard can become loose or disconnected. While this isn’t very common, it’s still worth trying, especially when other solutions haven’t worked. This follows the classic troubleshooting advice: unplug and plug back in anything that’s causing issues.
Here’s what you can do:
Open your phone. Using a proper toolset, carefully open your iPhone and check the connectors related to the display.
Reseat the connectors. Disconnect and then reconnect the display-related cables to ensure they are properly seated.
Reference guides. If you’re unsure how to open your specific iPhone model, visit the iPhone Guides page for detailed instructions on safely disassembling your device.
Make sure to handle all components carefully to avoid causing further damage.
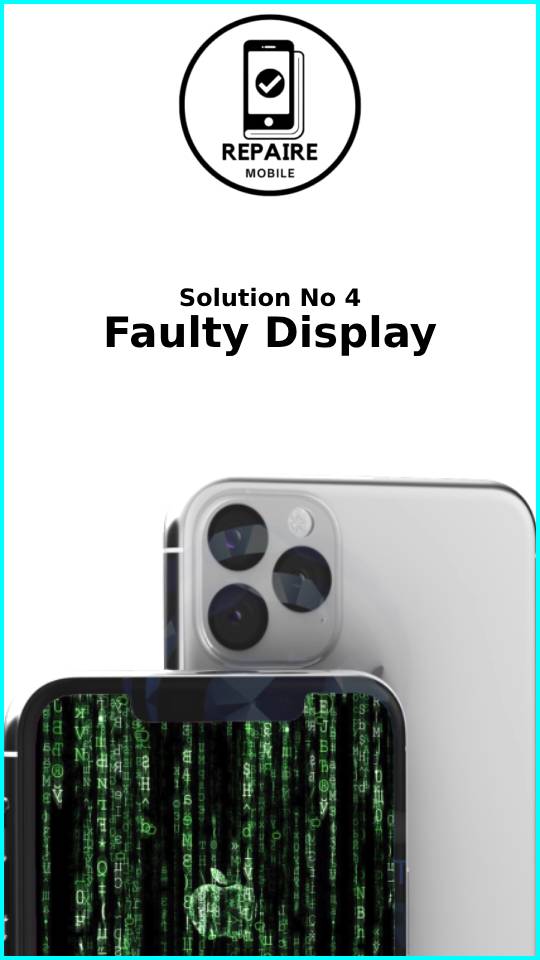
4: Faulty Display
Sometimes, even if there’s no visible damage, the display might stop working due to internal issues. Cracks in the screen can be hard to see unless the light hits them just right.
Here’s how to check if your display is faulty:
Inspect for cracks. Look closely at your screen from different angles to spot any small hairline cracks that may not be obvious.
Check for liquid damage. Use a paper clip to eject the SIM tray and shine a light into the slot to look for the liquid contact indicator. If the indicator is pink or red, it means the phone has been exposed to liquid. This indicator is under the display, so it can be hard to see. Liquid damage can cause the display to fail.
- If you see signs of liquid damage, check inside the phone for more liquid exposure.
Examine internal cables. Open the phone and inspect the internal cables for tears or damage. If you’re not sure which cables are connected to the display, use a Display Replacement Guide specific to your iPhone model.
Replace the display. If you find damage or if none of the software fixes work, it’s likely that the display needs to be replaced.
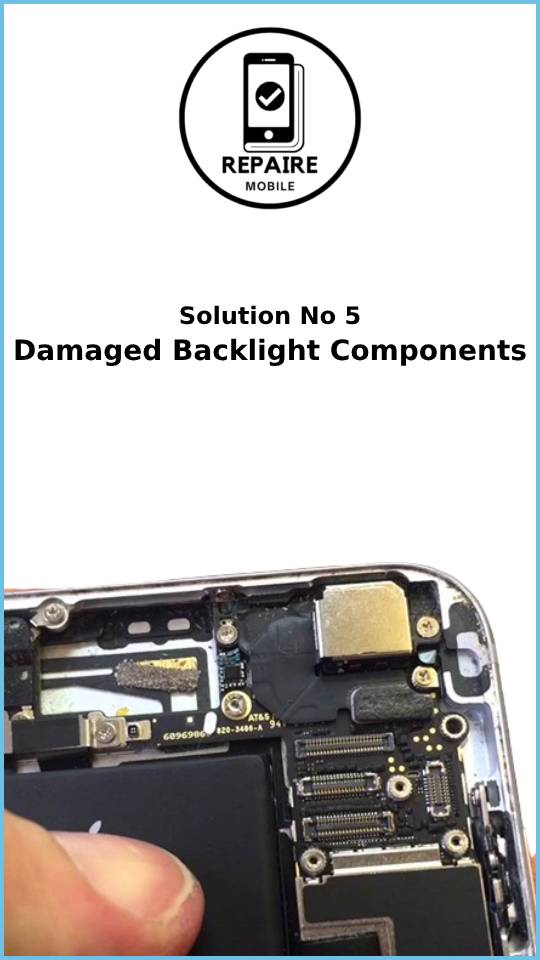
5: Damaged Backlight Components
On iPhones with LCD-type screens (like the iPhone 8, 8 Plus, earlier models, all iPhone SE versions, the iPhone XR, and iPhone 11), the screen’s backlight is separate from its ability to display images. If the backlight fails, you may still have an image, but the screen will be too dark to see without external light.
Here’s how to check for and address backlight issues:
Use a flashlight. Shine a flashlight on the screen, especially during boot when the Apple logo appears (due to the contrast). If you can see a faint image, it means the backlight is not working.
No recent repairs or water damage? If the backlight stopped working without any repairs or liquid exposure, replacing the display might fix the problem.
After repair issues. If the backlight issue started after a repair, or if you’ve already replaced the display, the problem might be related to how the repair was done. Forgetting to unplug the battery before replacing parts can damage the backlight components.
- Look for signs of heat damage near the display connectors on the logic board, such as a melted foam sticker, burn marks, or a burnt smell.
Microsoldering may be needed. If you spot damage on the board, this could be a microsoldering issue. You’ll need a professional who can replace tiny components on the board itself. Even if your local shop doesn’t do board-level repairs, they might be able to refer you to someone who does.
Logic board replacement. If you can’t find someone to perform the microsoldering, or if you’re unable to do it yourself, your only other option may be to replace the entire logic board.
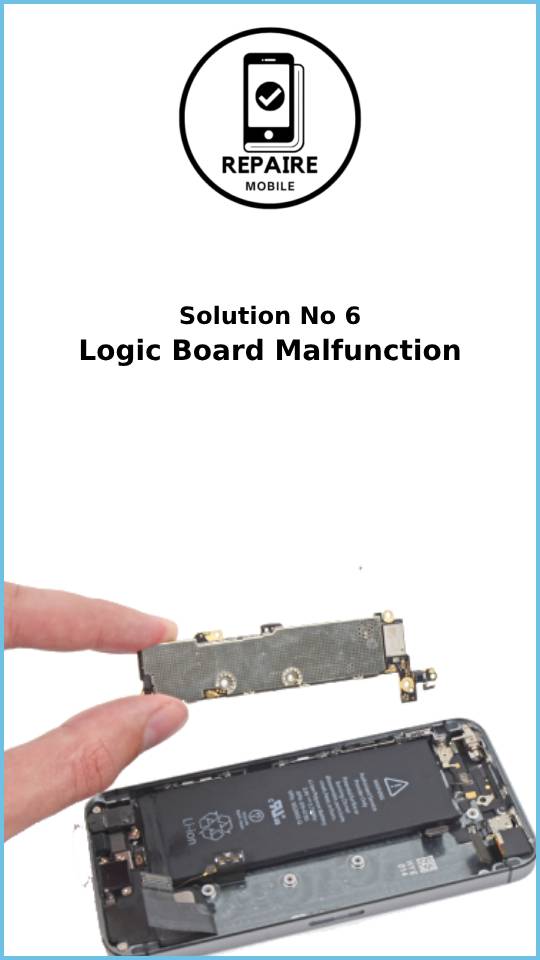
6: Logic Board Malfunction
The logic board is the core of your iPhone, managing most of its functions. If nothing else has fixed the issue, it’s possible that some components on the board have failed or been damaged.
Here’s how to check and what to do if you suspect a logic board issue:
Look for signs of damage. Open your phone and check the logic board for burned or cracked components, liquid residue, corrosion, or bending. If you see liquid damage, refer to the iPhone Liquid Damage Guide for further steps.
Replacing the logic board. For most DIYers, replacing the entire logic board is the simplest fix if it has failed.
Board repairs. Despite popular belief, logic boards can be repaired, but it requires specialized tools and microsoldering skills. If you’re interested in learning microsoldering, there are plenty of resources available to help you get started.
If you’re not comfortable with board repairs, it’s best to take your phone to a professional who has experience in microsoldering and logic board repair.