Introduction
Remember when you had to carry a separate camera just to take good pictures? Maybe you don’t, but smartphones have made that a thing of the past. That is, until your camera doesn’t work and the picture turns out blank. Don’t miss your chance to capture the perfect moment because your camera isn’t working right. Keep reading to find out how to fix it easily!
First Steps
Before trying the more time-consuming solutions below, here are a few quick things you can try:
- Force restart your phone. If you’re not sure how to do this, look up the steps for your specific phone model.
- Check if you’re using the right camera. Tap the button to switch between the front and rear cameras.
- Close the camera app completely. It might be stuck, and restarting it could fix the problem.
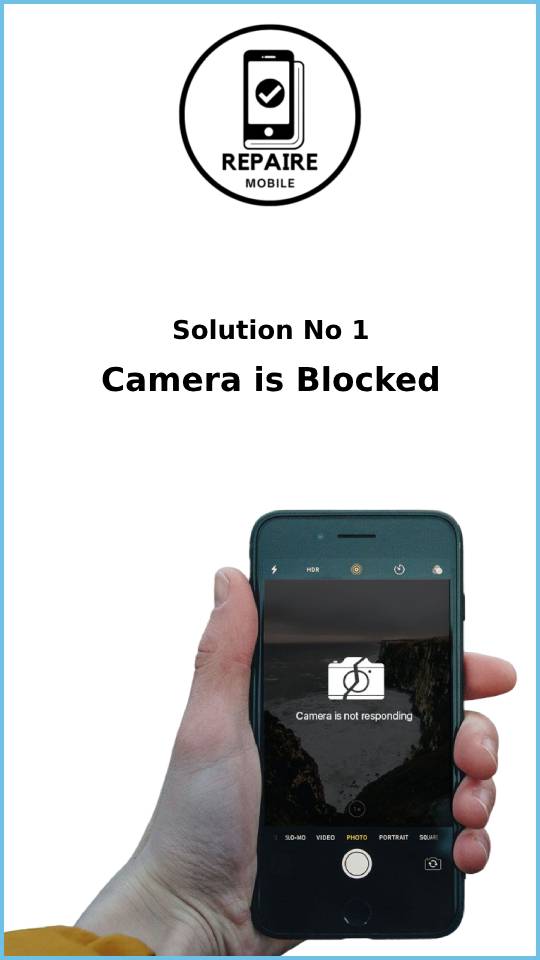
1. Camera is Blocked
For your camera to take pictures, it needs a clear view of what you’re trying to capture. It’s easy to miss when something is blocking it, like your finger.
- Clean the camera lens. Use a microfiber cloth to wipe the glass over your cameras. Dirt or smudges can make pictures blurry or even block the camera completely.
- Take off your phone case. Some cases, especially wallet cases, can get in the way when you try to take a quick picture.
- Check the front camera. If you’re having trouble with the front camera, make sure your screen protector isn’t covering it.
- Look for damage. Check if the glass over the camera is cracked. Even if the camera itself is fine, a crack in the glass can reduce image quality. In most cases, you can replace just the camera glass without replacing the entire back of the phone.
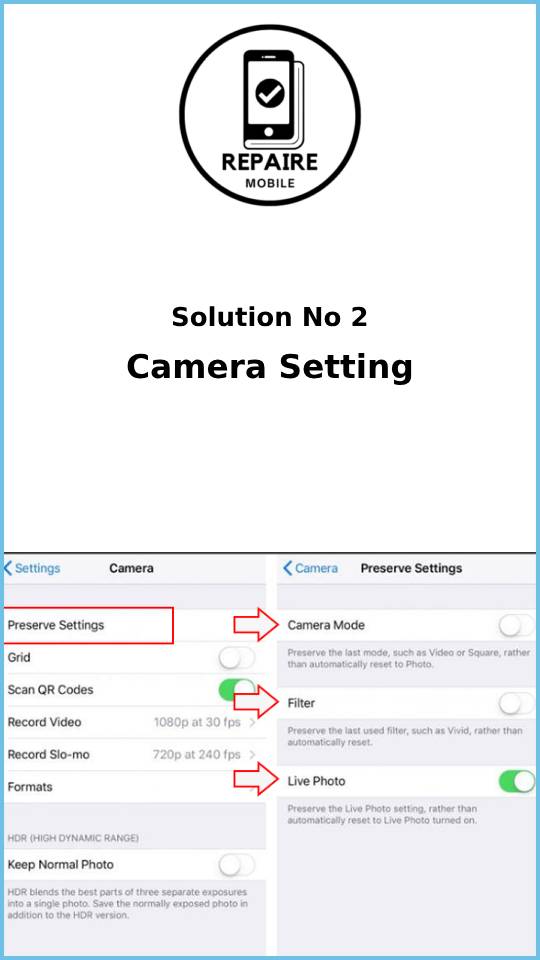
2. Camera Settings
With modern smartphones having multiple cameras, figuring out where the issue is can be tricky.
- Switch between cameras. Make sure you’re using the correct camera by tapping the button to flip between the front and rear cameras.
- Check the mode. Ensure you’re using the right camera mode for your environment. If the mode isn’t suited for the scene, the image may not come out right.
- Adjust settings in third-party apps. If you’re using a camera app with manual controls, check settings like white balance, saturation, or ISO to ensure they are set correctly for your shot.
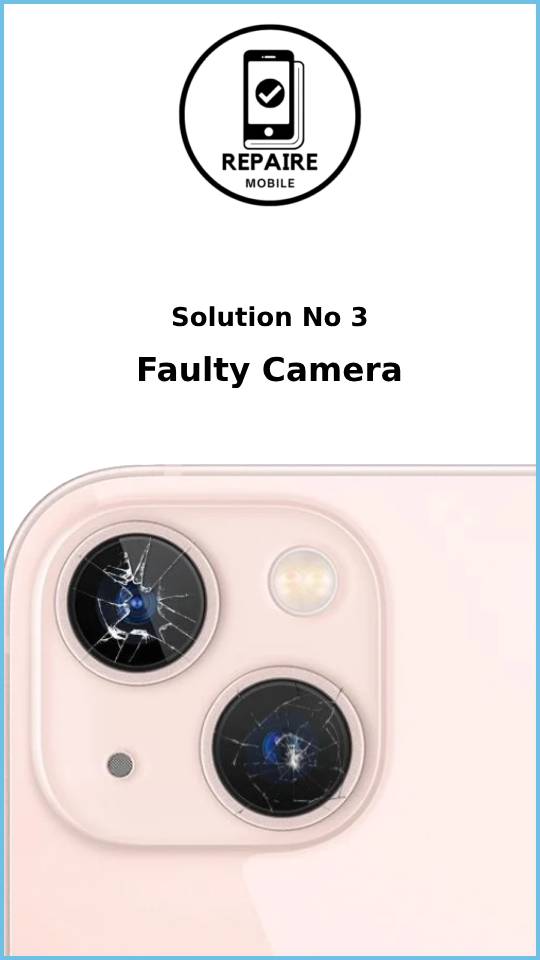
3. Faulty Camera
- Test the flash. If your flashlight isn’t working, it’s likely a hardware issue. The flash relies on the camera to send a signal, so if the camera is faulty, the flash may not work either.
- Identify the faulty camera. Test the front and rear cameras, as well as different camera modes, to figure out which camera is causing the problem.
- Disconnect cameras one by one. If none of the cameras work, open your phone using the correct guide and disconnect each camera individually to see if removing one restores the others. Always disconnect the battery between tests.
- Replace the faulty camera. If you identify a faulty camera, replace it with a new part. Keep in mind that replacing cameras in iPhone 12 and newer models may trigger a mismatch warning, and replacing the front camera will disable Face ID functionality.
4. Buggy Software
Software issues can cause your camera to malfunction. Before thinking about hardware fixes, make sure it’s not just a software glitch.
- Test the camera in other apps. Try using the camera in a different app that has a camera feature (like social media or a messaging app).
- Close the problem app. If the camera works fine in other apps, use the App Switcher to close the app that’s causing trouble.
- Reopen the app and test again. If the issue happens again, check the App Store for updates and install them. If no updates are available, try uninstalling and reinstalling the app. If it’s the built-in iPhone Camera app, move to step four.
- If the camera doesn’t work in any app, it could be an OS issue. Use a PC with iTunes or a Mac to check for and install any system updates.
- Restore your phone if needed. If all else fails, back up your data, then use a computer to restore the phone. This will erase all data, so try testing the phone without restoring your backup to see if the issue is with the Operating System itself.

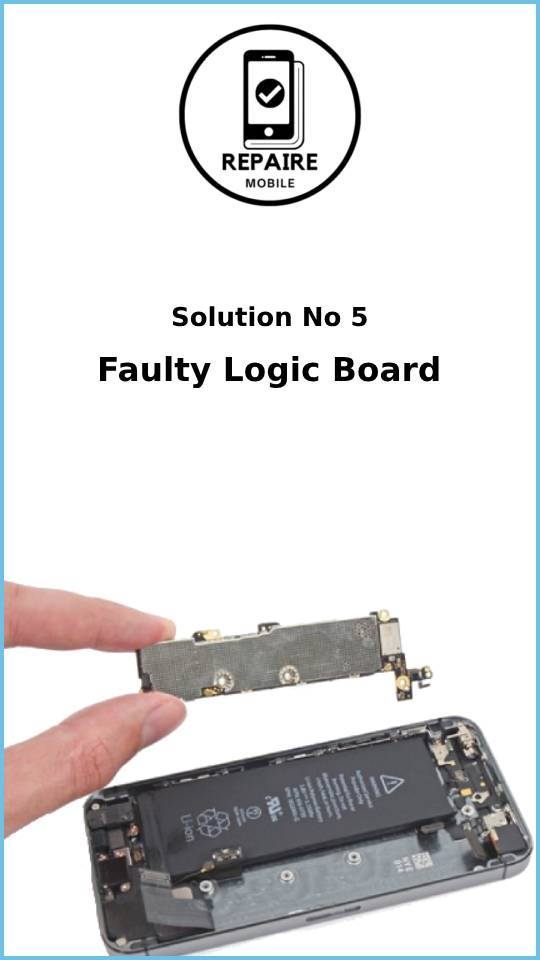
5. Faulty Logic Board
The logic board controls most of your iPhone’s functions. If none of the previous solutions worked, the issue might lie here.
- Look for signs of damage. Check the board for obvious issues like burned or cracked components, liquid residue, corrosion, or bending. If there are signs of liquid damage, refer to the iPhone Liquid Damage Guide.
- Consider replacing the logic board. For most DIYers, replacing the entire board is the simplest solution.
- Board repairs are possible. Contrary to popular belief, the logic board can be repaired, but it requires specialized tools and microsoldering skills. While it’s not something most people can do at home, many independent repair shops offer this service.